
GOLDEN GIRL


Round 2 w/ Ninethirtycreative:
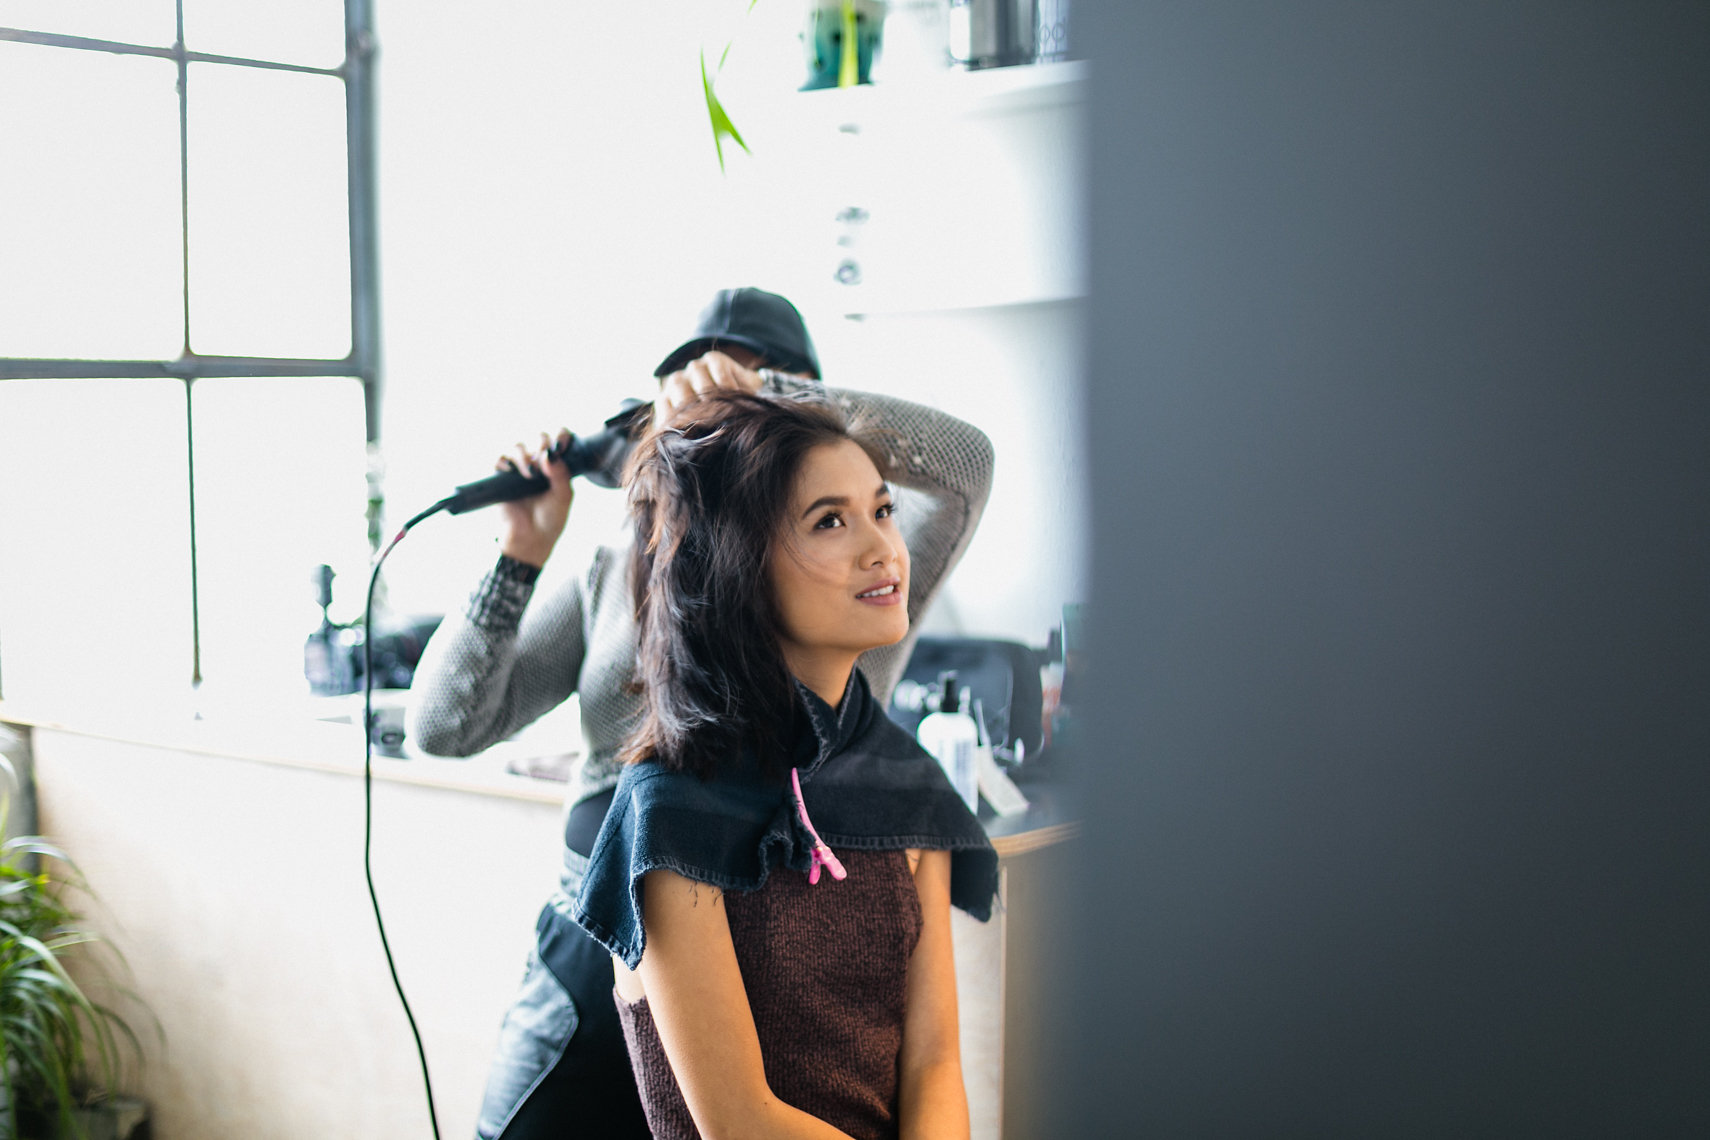
Another creative shoot with this group and my first time working with this makeup artist (Karla.makeupartist). Overall it was great! Even though I was really exhausted from my work week, I always get an adrenaline rush when it comes to bringing out our imagination through the camera. ALWAYS YOUR PASSION AS YOUR ENERGY DRINK (and of course on top of your 4-shot Starbucks coffee). Plus, Geneieve was an amazing model to shoot with.
LOOK 1
- BUILDING TEXTURE. For airy curls, spray in MAXIMISTA roots to ends and blow dry the hair back and forth with using your hands. MAKE SURE YOU HAVE ENOUGH TENSION. Repeat steps until you have the desired texture.
- CURL SETTING. Section 1 inch sections starting from bottom to top and about 2 fingers width size. When you're using 1/4 INCH CURLING IRON, make sure you're switching directions with every other OUTTER BARREL CURL.
- REVAMP VOLUME. FACT: Whenever you place a hot tool on the hair after building texture it, it tends to flatten the volume out. SO... to REVAMP it, you have to put back in the texture and re-blowdry. A.K.A using my favorite-MAXIMISTA.
- SHAPE. Grab your paddle brush and shape the hair by lacing or backcombing to get your desired shape. As you go, don't be too shy with THICK HAIRSPRAY by oribe to add in "texture, shine and hold".
- TIP: To give extra love for the "natural looking volume", grab your backcombing brush and rub right onto the scalp. IT VAMPS THE HAIR EVEN MORE and its the PERFECT technique for re-fluffing throughout the shoot.
- FINISHING TOUCH. A little dab of BRILLIANTINE to piece out the ends to give more of a PIECEY EFFECT.
LOOK 2:
- ***For the second outfit, I just tucked in the hair in the bathing suit top. Sometimes clothes can be your GO-TO HAIRSTYLE.

BTS w/ @Ninethirtycreative
PRODUCTS USED:
Maximista (oribe)
Dryspun (bumble and bumble)
Thick hairspray (oribe)
Brillantine (bumble and bumble)
Soft lacquer (oribe)
TOOLS NEEDED:
- 1/4' inch babyliss curling iron
- paddle brush
- backcombing brush w/ bristles
- two of (level 3 color) YAKI PONY TAILS
- Goody brand black rubber head bands
- large bobby pins
- tiny bobby pins

Photography by: @Ninethirtycreative

Ninethirtycreative studio
LOOK 3:

Model: Genieve
- BUILDING MORE TEXTURE. Spray a good amount of DRYSPUN from roots to end and make sure it feels theres enough texture like straw.
- PARTINGS. 1. From the crown area to the round of the head where the occipital starts | 2. Sides of the head to the nape area (for the HIGH PONY TAIL)
- BRAID #1. Start braid at the top of the OCCIPITAL and begin the outer braid towards the front hairline while adding the one of YAKI PONY extension and braiding it and securing it with a black rubber band headband .
- PONYTAIL. Place the high pony right where the braid starts, using SOFT LACQUER and a paddle brush to create a smooth high ponytail at the occipital of the head.
- BRAID #1 to PONYTAIL. Bring BRAID #1 back to the ponytail, do one wrap around the ponytail and then secure with a bobby pin to the band of the ponytail and bra. Slowly piece out and secure BRAID #1 that is loosely hanging about the crown area.
- BRAID #2. Braid extension #2 and also secure it with a black rubber band headband.
- FINISHING TOUCH. Piece out the braids by pulling the sides from bottom to top and even rubbing your hands back and forth with the braid inbetween.